If you’re new to running a WordPress website, or even if your site has been live for a while, you’ve probably faced this common dilemma: you want to update plugins, switch themes, or tweak features, but you’re worried that one wrong move might break your site, disrupt visitors’ experience, or even cost you customers. This is exactly where a “staging site” becomes your secret weapon.
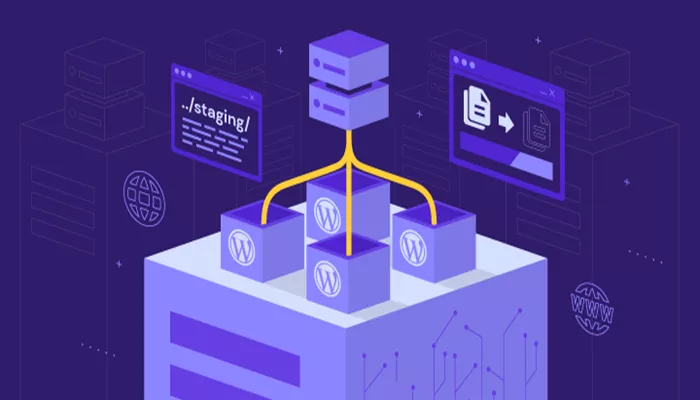
A staging site is essentially a hidden clone of your real website — it looks and works exactly the same, but it’s tucked away safely from the public eye. Only you and your team can access it. In this safe “sandbox” environment, you can freely test changes, fix bugs, and make sure everything works perfectly before pushing updates live. This dramatically reduces risk while boosting your efficiency and peace of mind.
Today, let’s uncover the mystery of WordPress staging sites. We’ll dive into why they’re essential, how you can create one, and which method might work best for you — making site maintenance and development much smoother and less stressful.
Why Do You Need a WordPress Staging Site?
Imagine you update a plugin directly on your live site, only to find it crashes your homepage or causes strange errors. Visitors see broken pages, customers get frustrated, and your reputation takes a hit. This nightmare can easily become reality without a staging environment.
A staging site acts like a personal “lab” where you can experiment without consequences. It’s like a scientist running experiments in a controlled lab instead of in the wild. You test new plugins, tweak designs, or add features knowing your live site remains untouched and fully functional.
Besides preventing errors, staging sites enable collaboration. Developers, designers, and editors can work independently without stepping on each other’s toes. You can confidently try out major improvements or customizations, knowing your real users won’t be affected until everything is perfect.
How Can You Set Up a WordPress Staging Site?
Today, there are several practical and accessible ways to create a staging site:
1. Use Your Hosting Provider’s Built-In Staging Feature for Quick Setup
Many top WordPress hosting providers like Hostinger, Bluehost, SiteGround, Kinsta, and WP Engine offer easy one-click staging site creation.
For example, with Hostinger, you just log into your control panel, choose the staging option, and in a few clicks, you’ll have a full copy of your website running in a separate environment. This clone is isolated from your live site, so you can safely experiment without risk.
This method is perfect for beginners. It saves you from dealing with complex file and database operations and lets you have a secure testing ground in minutes.
2. Use the Free WP Staging Plugin to Create Your Own Staging Site
If your host doesn’t offer staging or you want more control, the free WP Staging plugin is a fantastic option.
Once installed and activated, WP Staging clones your entire website—files and database—into a new subfolder or subdomain. This “twin” site is nearly identical to your live site, allowing you to test plugins, themes, and updates in a safe environment.
The cloning process is user-friendly: just name your staging site and click “Start Cloning.” After a few minutes, your staging environment will be ready, clearly marked to avoid confusion with the live site.
Though the free version doesn’t sync changes back to the live site automatically, it’s a powerful tool for small site owners and teams to safely verify updates.
3. Choose a Professional Service Like BlogVault for Backup and Staging Combined
For a premium all-in-one solution, BlogVault offers cloud backups plus a staging site hosted on their servers.
This reduces the load on your hosting, speeds up your staging environment, and keeps everything secure in the cloud. After testing changes on BlogVault’s staging site, you can merge them back to your live site with just a few clicks.
This option suits business websites or high-traffic sites where uptime and reliability are critical.
4. Advanced: Manually Create a Subdomain Staging Site
If you’re technically savvy or want maximum flexibility, you can manually set up a staging site on a subdomain, like staging.yourdomain.com.
You copy your site’s files and database to the subdomain’s directory, adjust configuration settings, and lock down access to keep it private. Though more complex and error-prone, this method lets you fully customize your staging environment.
How Do You Sync Changes From Staging Back to Your Live Site?
The real power of a staging site is safely pushing tested changes live. Syncing methods vary:
-
WP Staging Pro and BlogVault offer one-click push features to merge changes easily.
-
Manual setups require manually transferring files and database updates via FTP and tools like phpMyAdmin.
-
Always back up your live site before pushing any changes to avoid data loss.
Conclusion
A staging site is an indispensable tool for anyone serious about managing a WordPress website. Depending on your budget, technical skill, and needs, you can pick:
-
Quick and simple staging via your hosting provider’s built-in tools.
-
Free and manageable staging with WP Staging plugin for beginners.
-
Professional backup and staging combined through BlogVault.
-
Full control and customization by manually creating your own staging environment.
With a staging site, you get a “time machine” and “testing ground” that lets you safely experiment and improve your site without risking downtime or errors on the live site. Try it out and watch your WordPress site management become more confident, safer, and efficient!
Related Topics
- WordPress Reduces CMS Costs by 44%, Report Finds
- Best WordPress Hosting Services Enable Easy Website Creation in 2025
- How Can You Build a Non-Blog Website with WordPress?

